
Hardware
How to use CZUR Scanner?
Connection
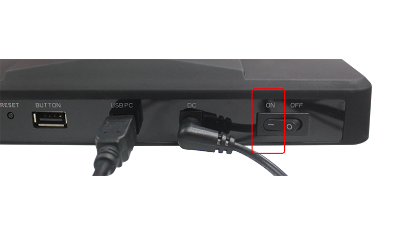
a) Take out the scanner and accessories from the package, then connect the DC power adapter, USB cable and scan button in turn;
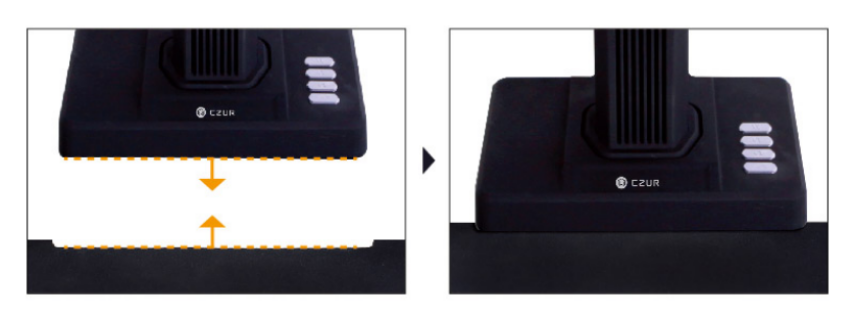
b) Place the black soft pad under the scanner’s lens, adjust the pad to ensure that the two corners are aligned with the base. Make sure the pad can cover the entire display, and no other things exposed except the document to be scanned. Check the LCD on the head portion to see if the black soft pad covers the entire screen and ensure that the desk surface or random edges are not included within the scan(Tips: All the scanning work must be done on the soft texture pad.
c) Please turn on the LED light when scanning. There are two brightness levels for the LED light. Please adjust light level at your needs.
Download product software
Please download the software installation package on official website:https://www.czur.com/support/et16plus#software
Select the color mode
Please select the color mode on the right side of the preview interface. There are Color, Patterns, Stamps, Grayscale and B&W 5 color modes in total.
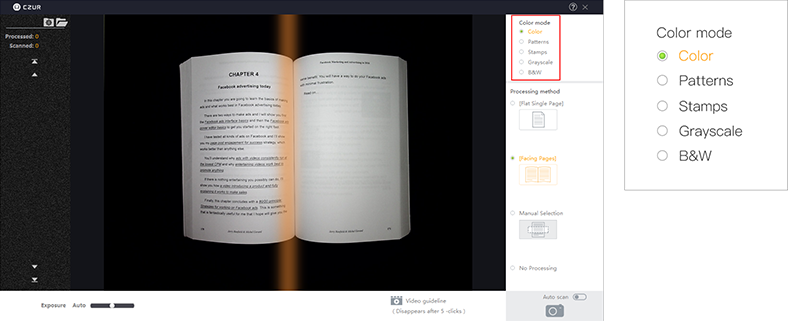
Select the processing method
Please select the processing method on the right side of the preview interface. There are [Flat Single Page]、[Facing Page]、Manual Selection and No processing.

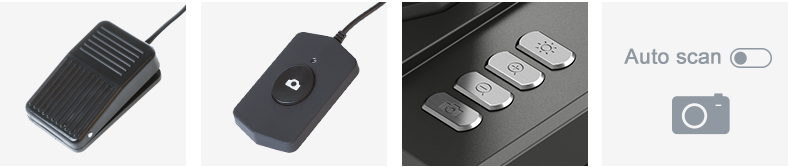
Select the scan mode
Export scan results
a) Select ‘All’ images on the file list;
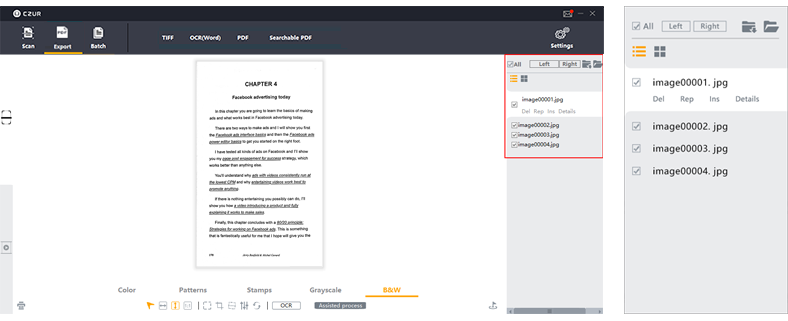
b) Export all the images to PDF, Searchable PDF or OCR(word) file.

c) Edit the scan results in Batch.
Select ‘All’ images on the file list;
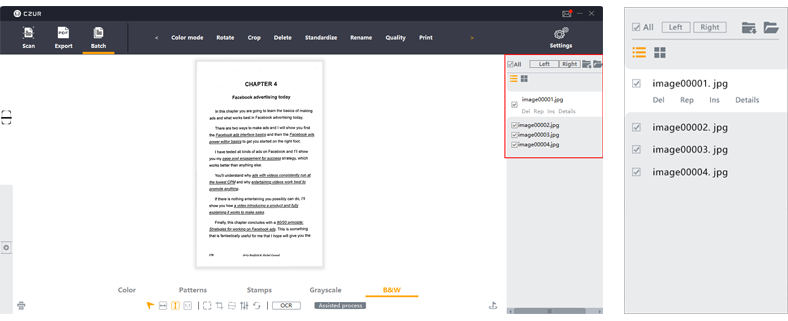
You can change color mode, choose rotate, crop, standardize, or carry out various types of batch processing for multiple images.
